Pro Bono Opportunities Guide
The Pro Bono Opportunities Guide, or Opps Guide, is a database of organizations that lawyers, law students and paralegals can search in order to find volunteer opportunities. As an admin, you populate it with organizations looking for help. The Opps Guide is available as a state-based resource or as a national resource. You are automatically made the editor of your state's information in the national guide. You can tailor the Opps Guide by adding new profiles of organizations, by approving or deleting organizations which users have posted, and by configuring how users may search. Any changes you make locally will also appear in the national guide's entries. This resource is broken into the following sections:
- How to Add an Organization to the Opps Guide
- Manage Organizations: Updating, Approving, or Deleting a Volunteer Opportunity
- Customize Options for the Opps Guide Search Form
- Associating Cases and Projects
- Opps Guide Reports
Volunteer Opportunities Tool Overview

General view of the Volunteer Opportunities page from which you can see different organizations, or add new organizations. From here you may also filter your search for organizations based upon the type of volunteers the organizations are looking for, the area of law, the communities served, and the location.

Mobile view of site

General view of an organization’s information page. From here you can read more about what an organization does and offers, and who you can contact if you want to get involved with the organization.
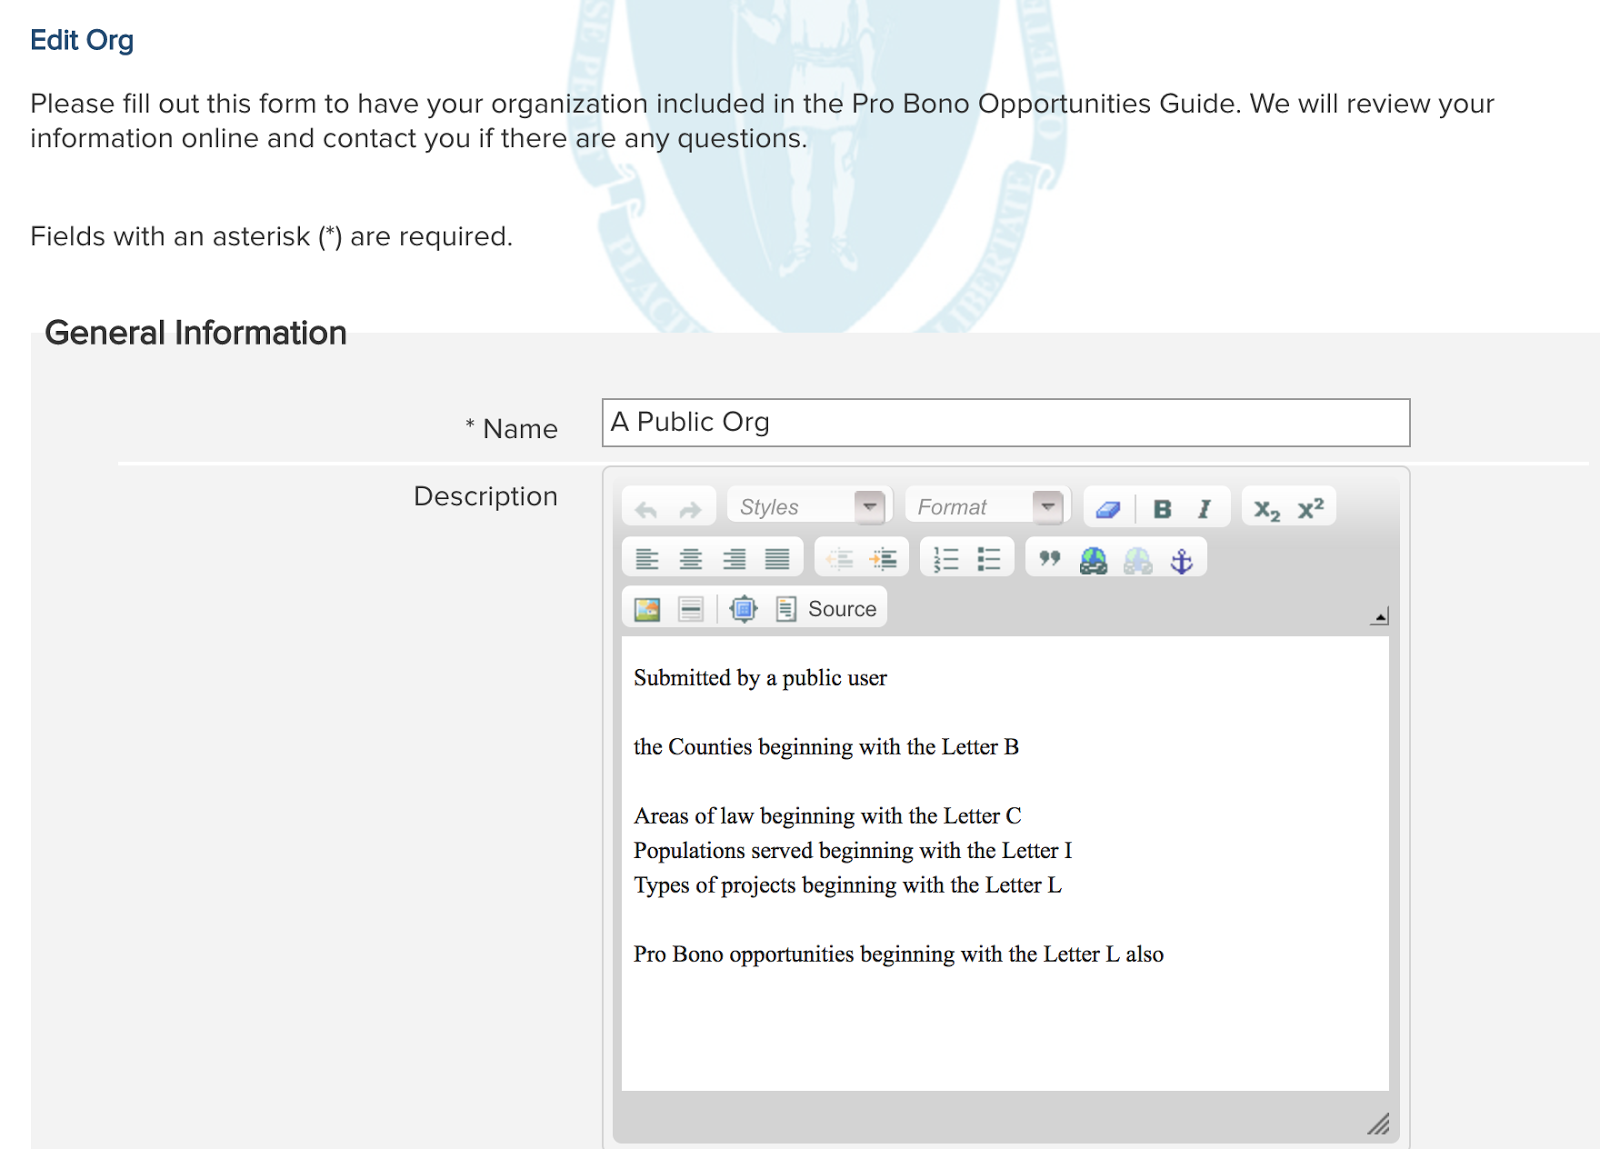
How to Add an Organization to the Opps Guide
Click on the “Add An Org” link at the top of any Volunteer Opportunities page. An “Add an Organization” form will open with all the required fields marked with asterisks. After filling out all the required fields, click submit.
If there are any errors, the form will not be submitted, and a list of the errors, along with the required changes will appear at the top of the page.

TIP: If you click on the title of the field listed as an error at the top of the form, the system will bring you directly the field in the form.
Tips for Some of the Add Organization Form Fields:

Contact Information:
NOTE: Only Administrators will see the information listed in the fields for “Organization Director or Executive Director”, and “Person filling out form”. Users will only see the information listed in the fields for “Volunteer Contact”.
Phone: Enter a phone number of up to 20 characters.
Email: Enter a single email address; the system will not take more than one.
NOTE: This field will convert to a hyperlink on the site. If you have multiple email contacts, enter them in the description field.
Location Information

Select the appropriate area(s), and if there is more than one county, hold down CTRL, or Command on a Mac, while clicking on the relevant counties.
Location of Opportunity: If you switch states in the drop down list of states, make sure to click the List Counties button to prompt the system to display that state's counties.
Program Information

- TIP: Hold down CTRL (Command on a Mac) on your keyboard while clicking in any of the drop down boxes in this section to select more than one choice.
- Areas of Law in Need of Pro Bono Help: Select one or more areas of the law for which the organization needs pro bono help.
- Other Needs: Enter any other needs the organization has, which are not reflected in the drop down list above.
- Other population: Enter a group of people not found in the drop down list above to whom the organization offers pro bono help.
- Need for non-English-speaking services: Select a language that the organization needs volunteers to speak in order to help provide services to constituents.
- Other language: Enter a language not found in the drop down list above which the organization needs volunteers to speak in order to help provide services.
- Hours for Pro Bono opportunities: Select times that the organization designates for getting help from volunteers.
- Other hours: Enter times or time ranges not found above that the organization designates for getting help from volunteers.
Selections in “Location Information” and “Program Information” shape what the user will see when launching a search. For instance, if there are no organizations listed with a need for pro bono help in the Arts, the user will not see Arts as a search option. Similarly, if there are no organizations serving Albany, NY, that city will not show up in the list of geographic areas to search on.
Other Information

- CLE credit is available for training: Check the box if attendees may earn CLE credit by attending training to volunteer at this organization.
- Training/supervision comments: Type in any comments about the CLE training that you think might be helpful for users.
- CLE credit is available for Pro Bono service: Check the box if the organization is an accredited Pro Bono CLE provider.
- CLE pro bono comments: Type in any comments about the CLE Pro Bono credit that you think might be helpful for users.
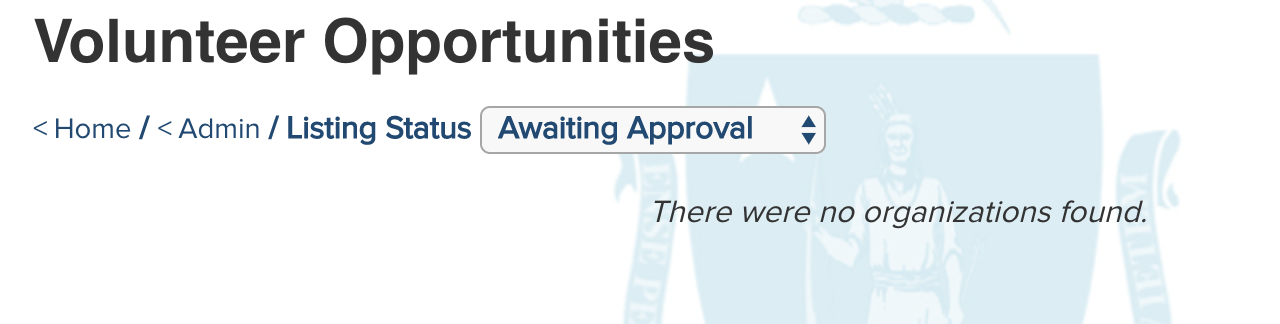
- Status: Default status is “Awaiting Approval”, which means that if you don't switch this to Approved, you will not see the organization listed in the Opps Guide--it will stay in the Admin page under Manage Organizations>Awaiting Approval.
Remember to switch the status to Approved if you want to publish the item immediately and place it in search records.
Deleted removes the organization from the searchable records and places it in the Opps Guide's admin page under Manage Organizations>Deleted.
More Information Requested and Rejected are useful internally as a way to mark items you're not ready to post or want someone else to review.
Manage Organizations: Updating, Approving, or Deleting a Volunteer Opportunity
There are two ways to update, approve, or delete an organization in the Opps Guide.
1) You can use the search page to find the organization.
To Update Existing Organizations
When you first get to the Manage Organizations page, change the Listing Status box to Approved. Then, find the organization you wish you update.

Click on the organization’s title to open its page.

Then, click the Edit button beside its title to open its form.
Make changes as necessary, keep the status as approved, and click Submit when finished.
To Approve New Organizations
Non-admin users are permitted (and encouraged) to submit volunteer opportunities of their own. However, their submitted items appear in the "Awaiting Approval" section of your Admin Inbox, and will not appear until reviewed and approved by an administrator.

If you're looking to publish a submitted item that has yet to be approved, click on its title to open its form. After making any necessary changes, select “Approved” as its status and click the Submit button at the bottom of the screen.

- TIP: The name and email address of content submitters displays at the bottom of each form. If you have any questions about the organization, click on the email address to send a query.
TIP: It is a good idea to check under Manage Organizations regularly so you can stay up to date with the content users are submitting.
To Delete an Organization
Find the organization you wish to delete and open its form. Go to the bottom of the form to the last field, Status, and select Deleted from the drop down list.

The organization will disappear from the Opps Guide's live pages and will not be available for searches. However, it will remain in the Guide's Manage Organizations section under Deleted items.
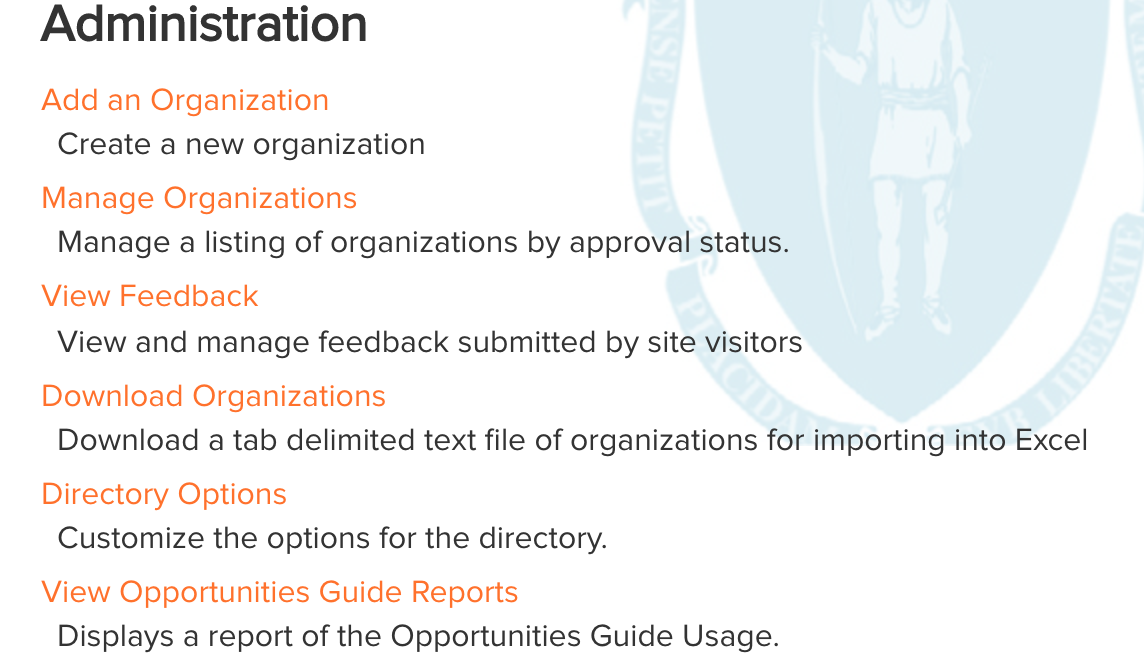
2) If you need to review several organizations at once, or if you're not sure how to search for the one you want, click the admin link at the top right of any Volunteer Opportunities page.

Then, click Manage Organizations.
Manage Organizations lists all organizations by its “Listing Status”
The page will refresh with all live organizations in the Volunteer Opportunities page. Click on the title of the organization you wish to modify to open its form. Update its fields, then click the Submit button at the bottom of the screen.
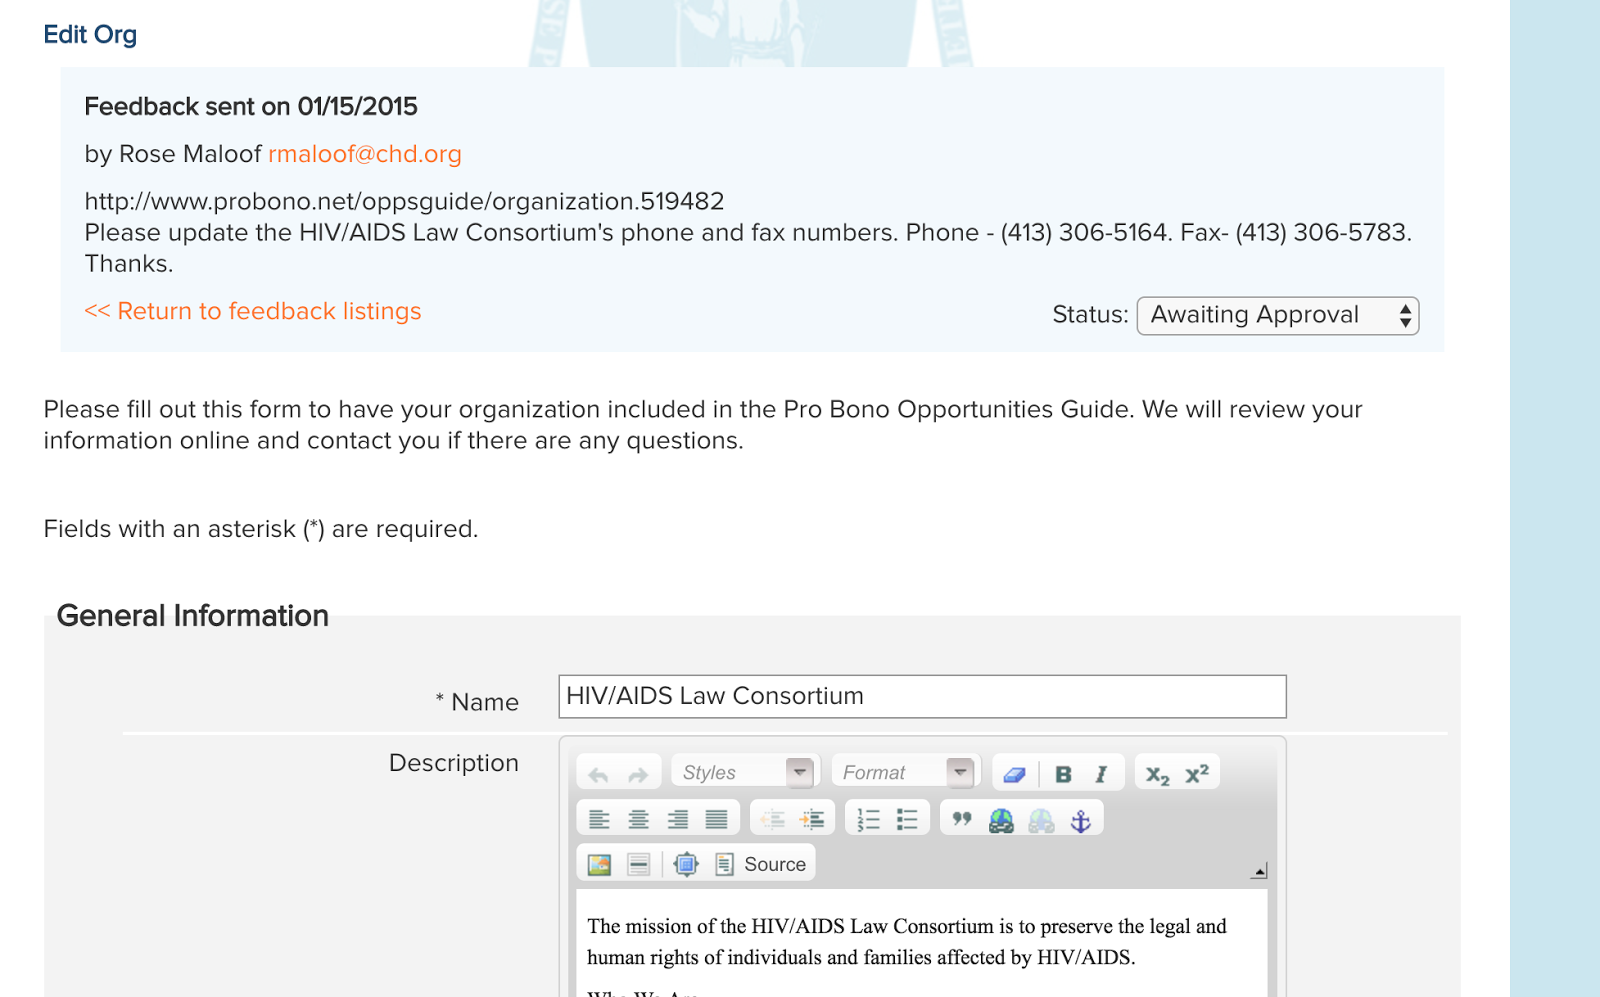
Reviewing Feedback about an Organization
Users may submit feedback about an organization by clicking corrections at the bottom of the item's profile. As an Admin, you will want to check these submissions regularly to ensure that profiles are up to date. You can also reject feedback as necessary.
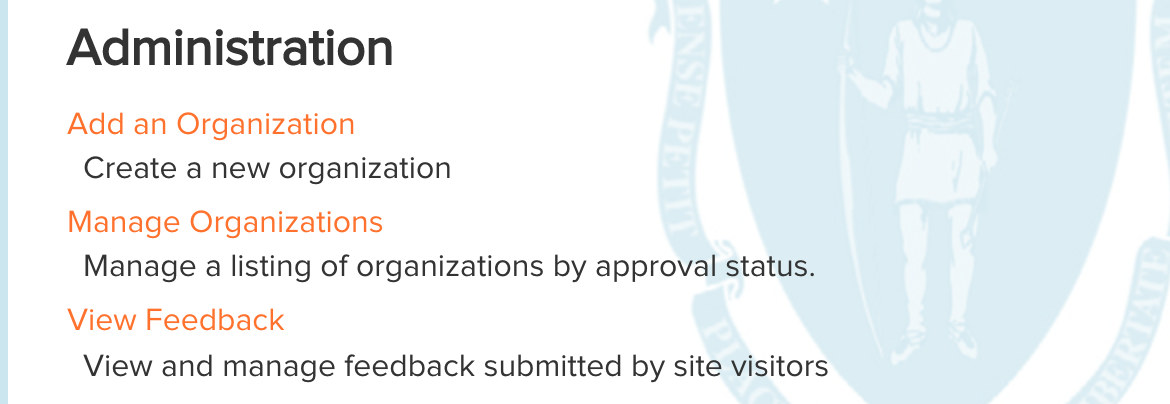
Click the admin link at the top right of any Opps Guide page and then select View Feedback. If there is feedback, a record set will display entries of it.

By default, feedback with the status of “Awaiting Approval” are displayed. To review submitted feedback (or deleted, or rejected), select the appropriate status from the “Feedback Status” drop down list.
- TIP: Click the name in the From column to send an email to the person who submitted the feedback if you have any questions. You may also find the submitter's email address link in the actual feedback message and click it from there.
To read the feedback, click the name of the organization. Its form will pull up, with the feedback at the top in a separate section. Included in the feedback message is the date the feedback was sent, the name of the person who sent it and the email address of the submitter. A link to a more detailed view of the organization's profile is also included to let you see the organization the way the submitter viewed it, which may help clarify the submission.
Applying Feedback to a Profile
1) Review the feedback submission and enter any changes to the organization's form.
NOTE: You have to manually enter the feedback into the form; merely changing its Status to Approved does not automatically post the information to the form
2) At the right side of the feedback box, switch the Status to Approved.
TIP: If you need more information before you can apply changes to the form, switch the Status to More Info Requested. If you wish to reject the feedback, switch the Status to Rejected, or Deleted.
3) Scroll down to the end of the organization's profile and click Submit to send changes to the live site.
NOTE: After you approve a piece of feedback, make sure to click Submit at the bottom of the form so your edits go to the live site.
Feedback appears in a box above the organization's edit form.
Use the information listed in the feedback to make changes in the form below. After doing so, you take two steps to complete the changes:
1) You need to approve (or delete, etc.) the feedback by switching its Status on the feedback form.

2) Then, you must click Submit at the end of the profile form.
Download Organizations in the Opps Guide
It is helpful to get a broader view of what's in your Opps Guide as a way of thinking strategically about how to enhance and optimize it as a tool. For instance, is there a preponderance of organizations serving the elderly in housing law, and not enough serving youth in criminal law? To see everything and sort its various facets, take the following steps.
1) On the admin page, click Download Organizations

2) Choose to save the txt file in a place you'll know how to access, such as your Desktop.
3) Open Excel, then open the txt file from Excel.
4) Choose Delimited for file type (not fixed width), and click Next.
5) Choose Tab for the delimiters and click Next.
6) Click Finish and your Excel spreadsheet will open.
Customize Options for the Opps Guide Search Form
The fields which display in the search form reflect only information that is available in the Opps Guide. For example, if there are no organizations whose geographical area covers Albany, Albany will not be a list item to search on under "geographical area." However, if there is some reason that an admins wants to further modify what options display for the search field, they can us the Configure Options link.
Click admin at the top of any page, then select Configure Options
See screen shot below of the Configure Options page:

The ways in which you may configure your search page fall under three main categories: Display, Default, and Available.
1) Include/Display indicates whether or not the user will see--and thus be able to search on--a field. For example, checking the box beside Include National Organization Support would result in the Opps Guide allowing profiles of organizations that operate nationwide. Or, checking the box beside Display Text Search field would allow the user, in addition to having the pre-programmed search filters, to enter text manually into a field for the system to search on.
2) Default manages the entries the user will see by default when the search page loads. So for example, selecting Environmental in Default Area of the Law would result in the user seeing that label in the Area of the Law drop down box. The entire drop down list is still available to the user, but Environmental would be the option shown at first.
- TIP: To present all items in a list, without having to choose any single one as its default, select All at the top of the list.
3) Available allows you to create the entries, in addition to the default choice, that are available to search on in drop down lists. Most likely, you'll want multiple items from these drop down lists, in which case, hold down the control (Ctrl) or APPLE key as you click them. For example, you may want Children, Domestic Violence Victims, Elderly, and General Public to be the populations that your Opps Guide allows a user to search on. Or Law Students and Lawyers as the types of volunteer groups your Opps Guide profiles are looking for.
- TIP: To present all items in a list, just make sure to highlight Show All at the top of the list.
Click Save to send your changes to the Opportunities Guide search form
Associated Cases and Projects
On the search results page, users will see organizations that meet their search criteria. The listings will show organizations':
- Area(s) of law
- "Projects for" data
- Contact information
In addition, organizations with associated Cases and/or Projects will have badges noting these opportunities. This functionality is demonstrated in the image below:
- NOTE: Previously posted Cases and Projects will not be automatically associated with organizations. Each Case must be edited and the listing organization must be selected from the auto-complete list provided to associate the Case. For more information on this process, see the Cases and Projects guides.
- TIP: The badges follow the permissions designations of each Case and Project. If an associated Case/Project is restricted to members and a public user searches the Opps Guide, they will not see badges noting the Case/Project. Similarly if a Case with Organization X is restricted to Civil Legal Aid Members, then a Pro Bono member who searches the Opps Guide will not see a Case badge next to Organization X.
Clicking on a badge will take the user to the section of the organization's profile that lists and links to the associated cases/or projects. This section is in the red box below:
To learn more about associating, see the Cases and Projects guides in the Admin Manual.
Opportunities Guide Reports
To generate a report, click on the Reports option and follow the prompts to generate data on organizations in your Opportunities Guide.
.png)